Delphi Connectors (12-Way)
Wiring Systems and Power Management | Diagnostic Information and Procedures | Document ID: 5207175 Special Tools EL-38125-550 Terminal Release Tool Kit EL-38125-580 Terminal Release Tool Kit J-38125-12A Terminal Release Tool For equivalent regional tools, refer to Special Tools. Terminal Removal Procedure Follow the steps below in order to remove terminals from the connector.
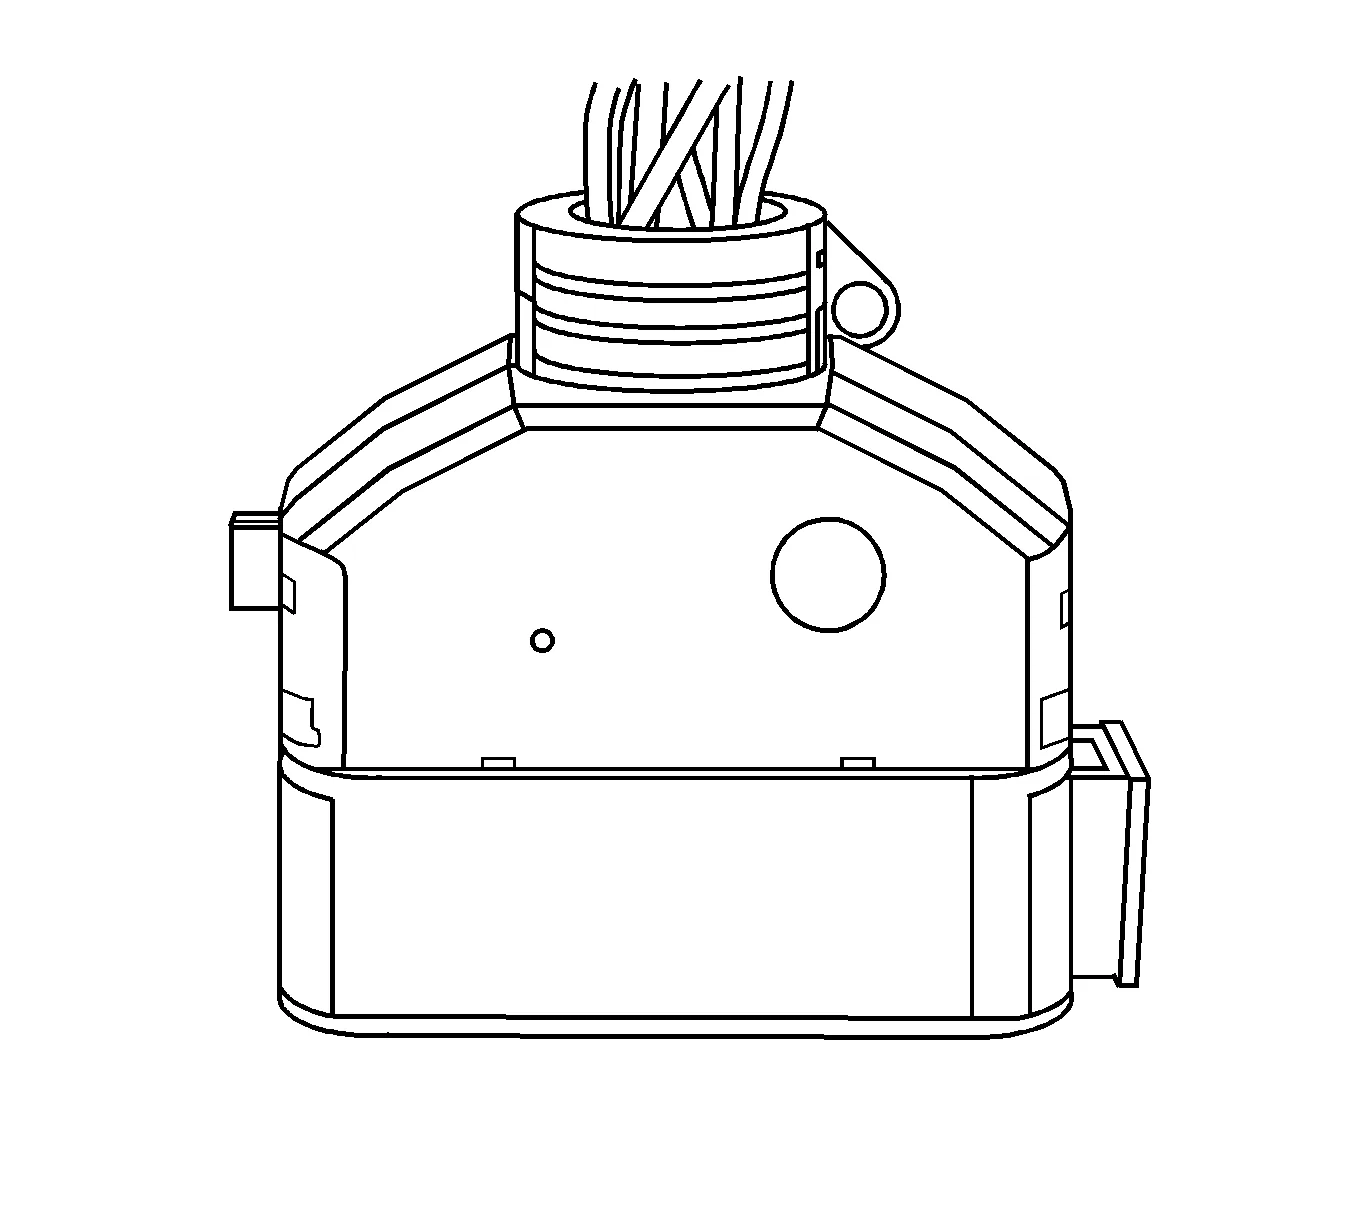
- Locate the lever lock on the wire dress cover. Remove the connector position assurance (CPA) and slide the lever lock away from the connector body.
- Disconnect the connector from the component.
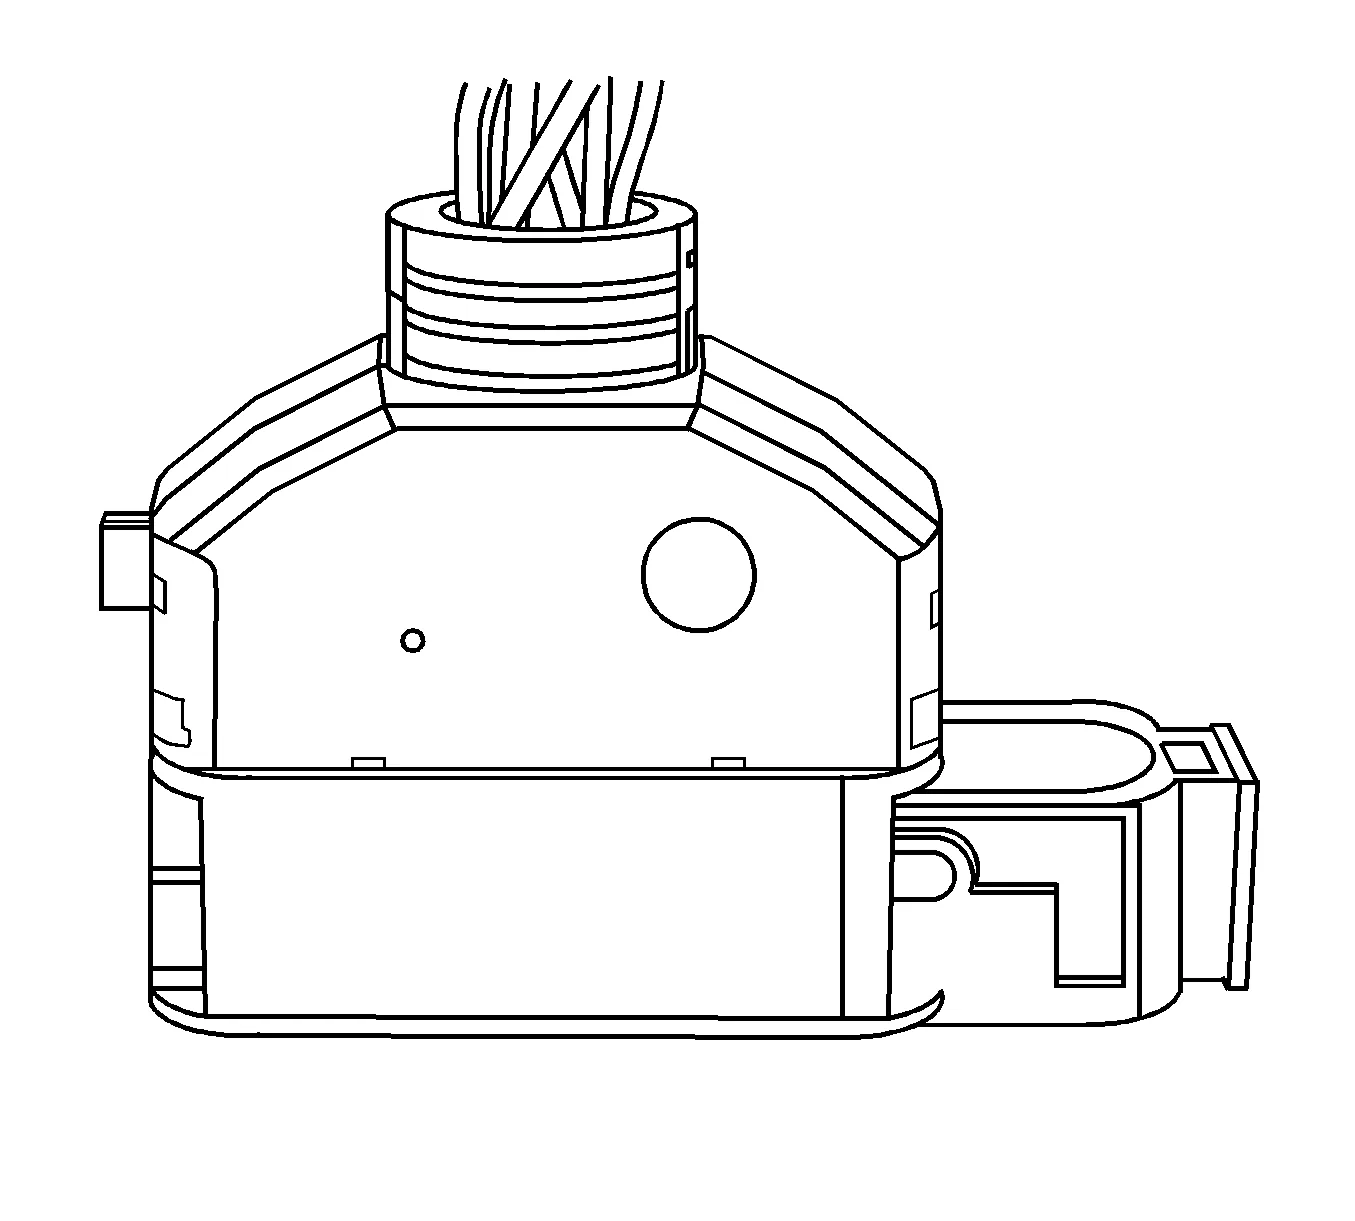
- Locate the dress cover locking tabs on the dress cover of the connector. Using a small flat-blade tool release all of the locking tabs.
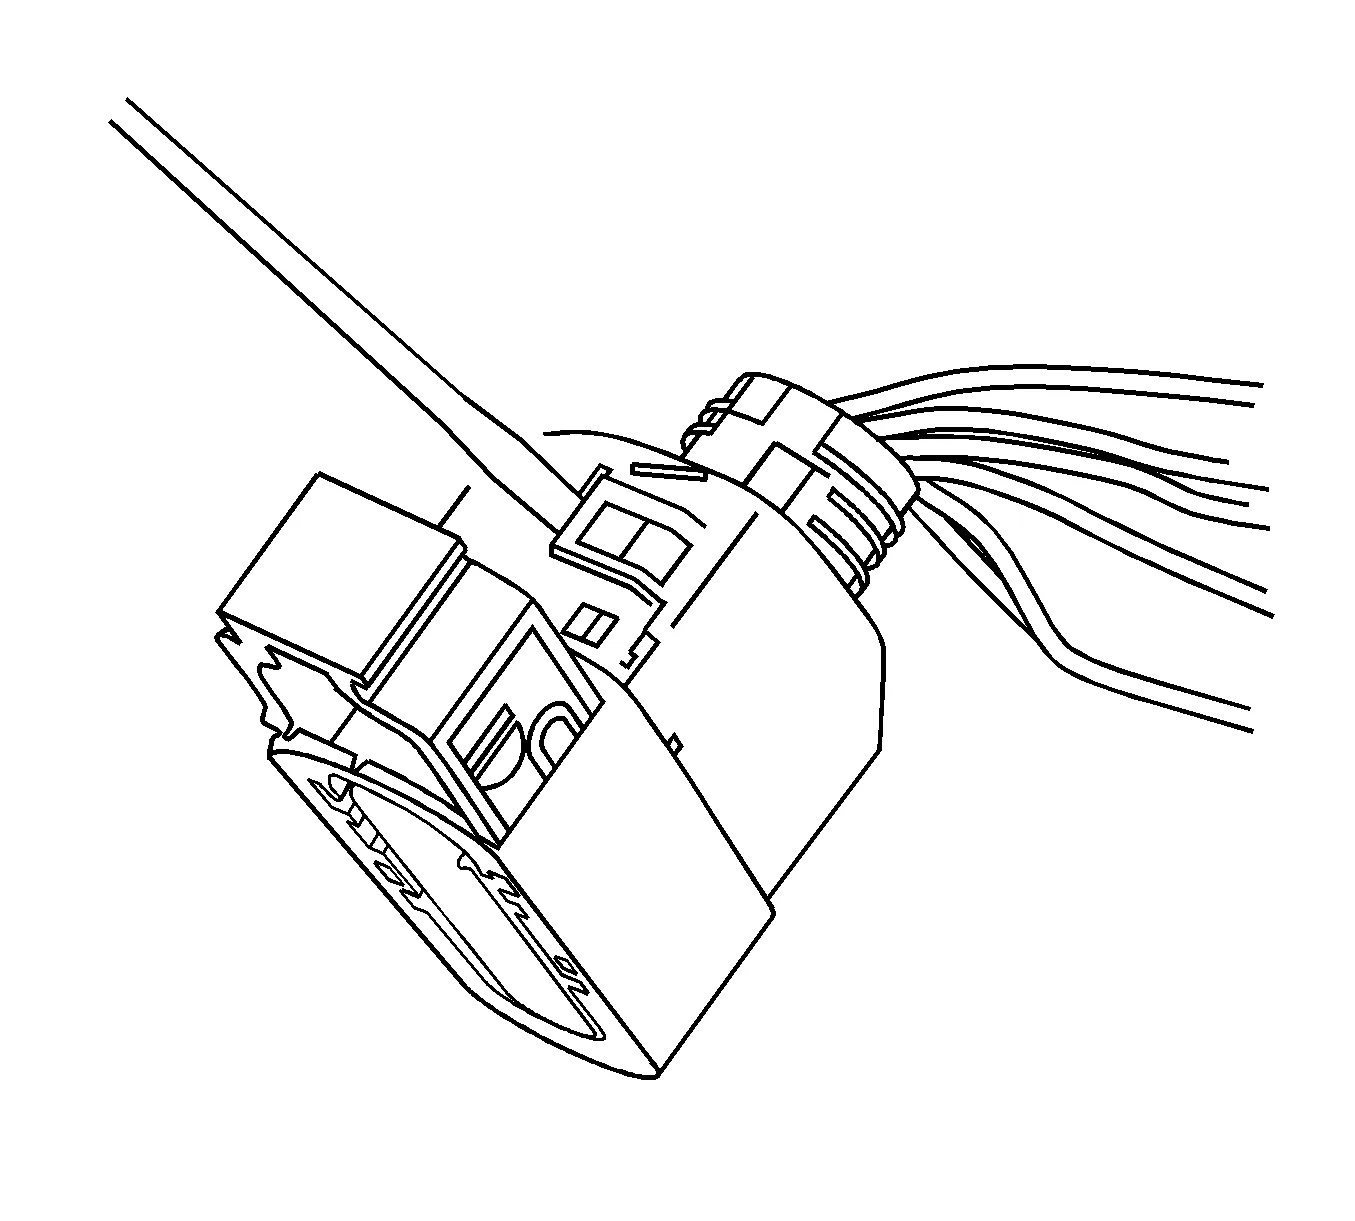
- Release the lower wire dress cover locking tab.
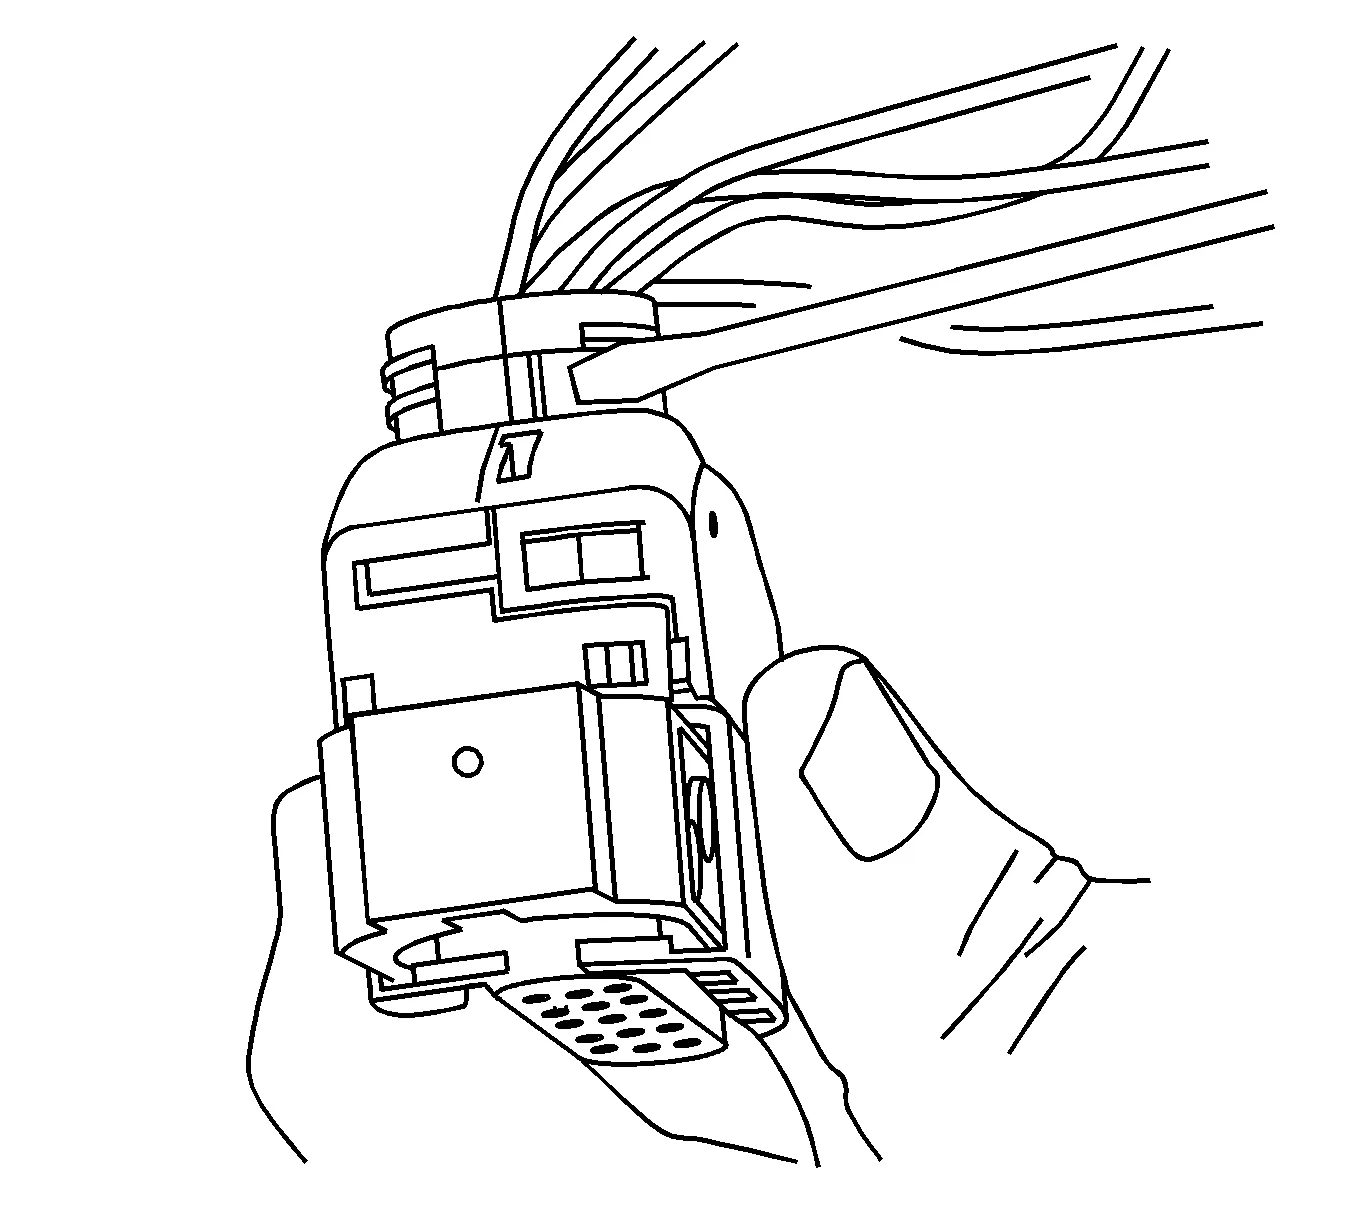
- Release the upper wire dress cover locking tab.
- Once the locks are unlocked, lift the dress cover off.
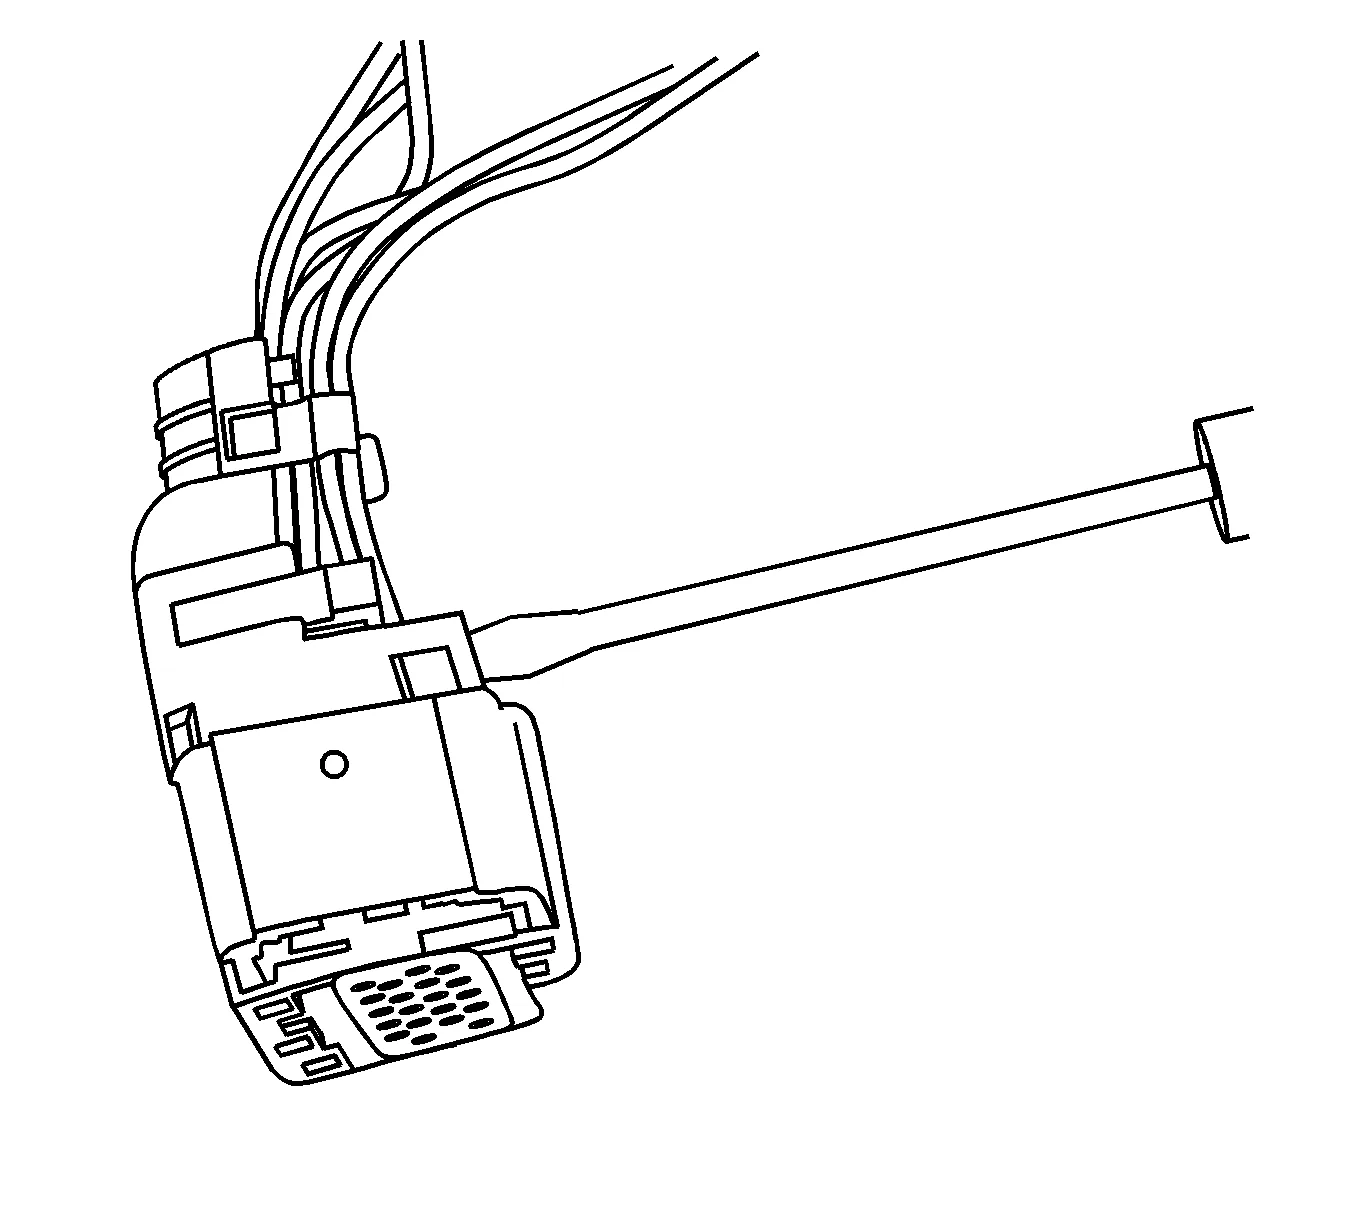
- Remove the TPA by inserting a small flat-blade tool into the locking tabs on both sides of the TPA . Gently pry the TPA out of the connector.
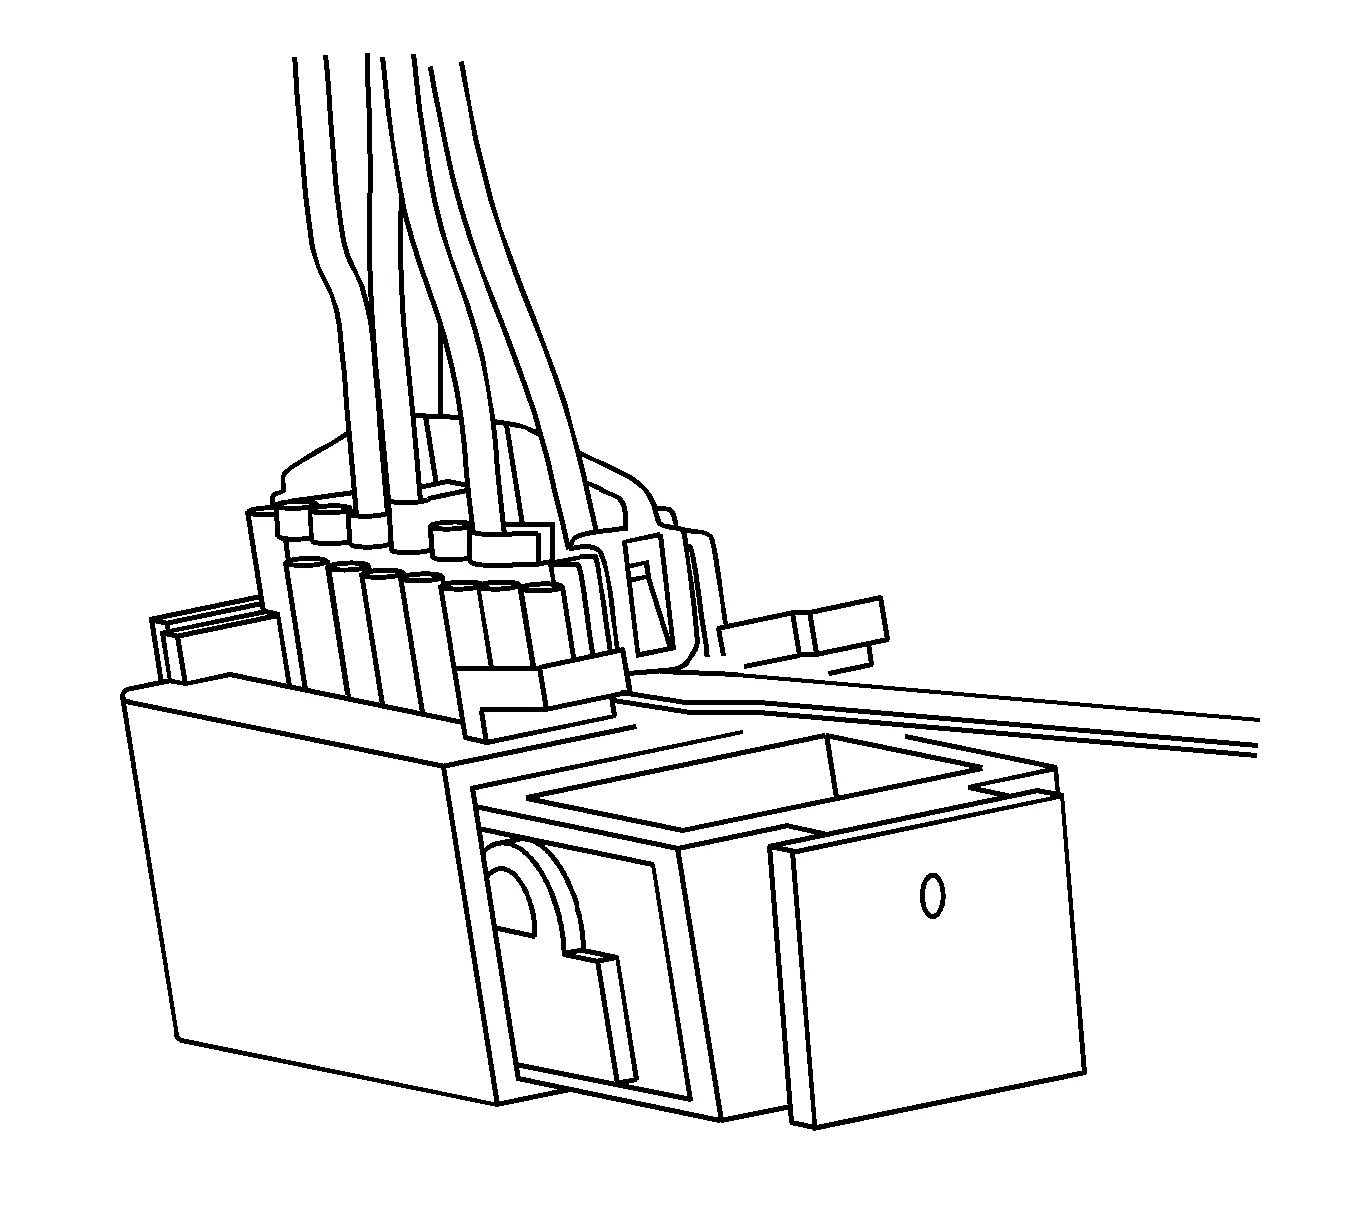
- Remove the nose piece by inserting a small flat-blade tool into the locking tabs on both sides of the nose piece. Gently pry the nose piece out of the connector.
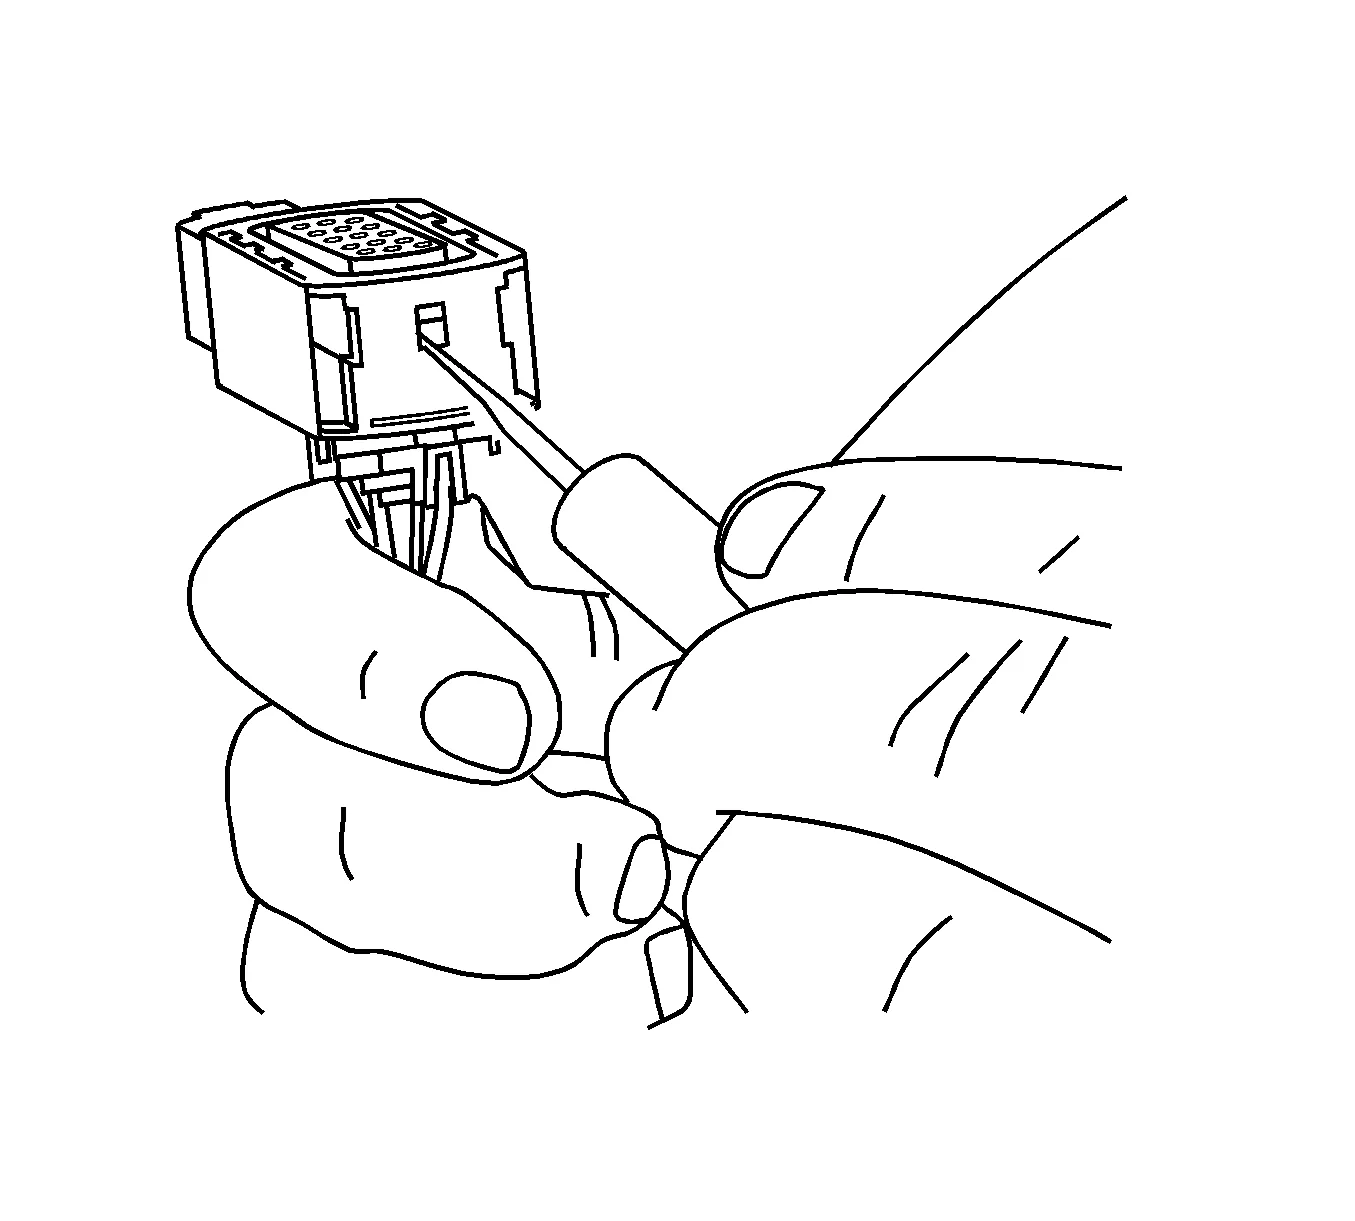
- Insert the J-38125-12A tool to release the terminals by inserting the tool into the terminal release cavity.
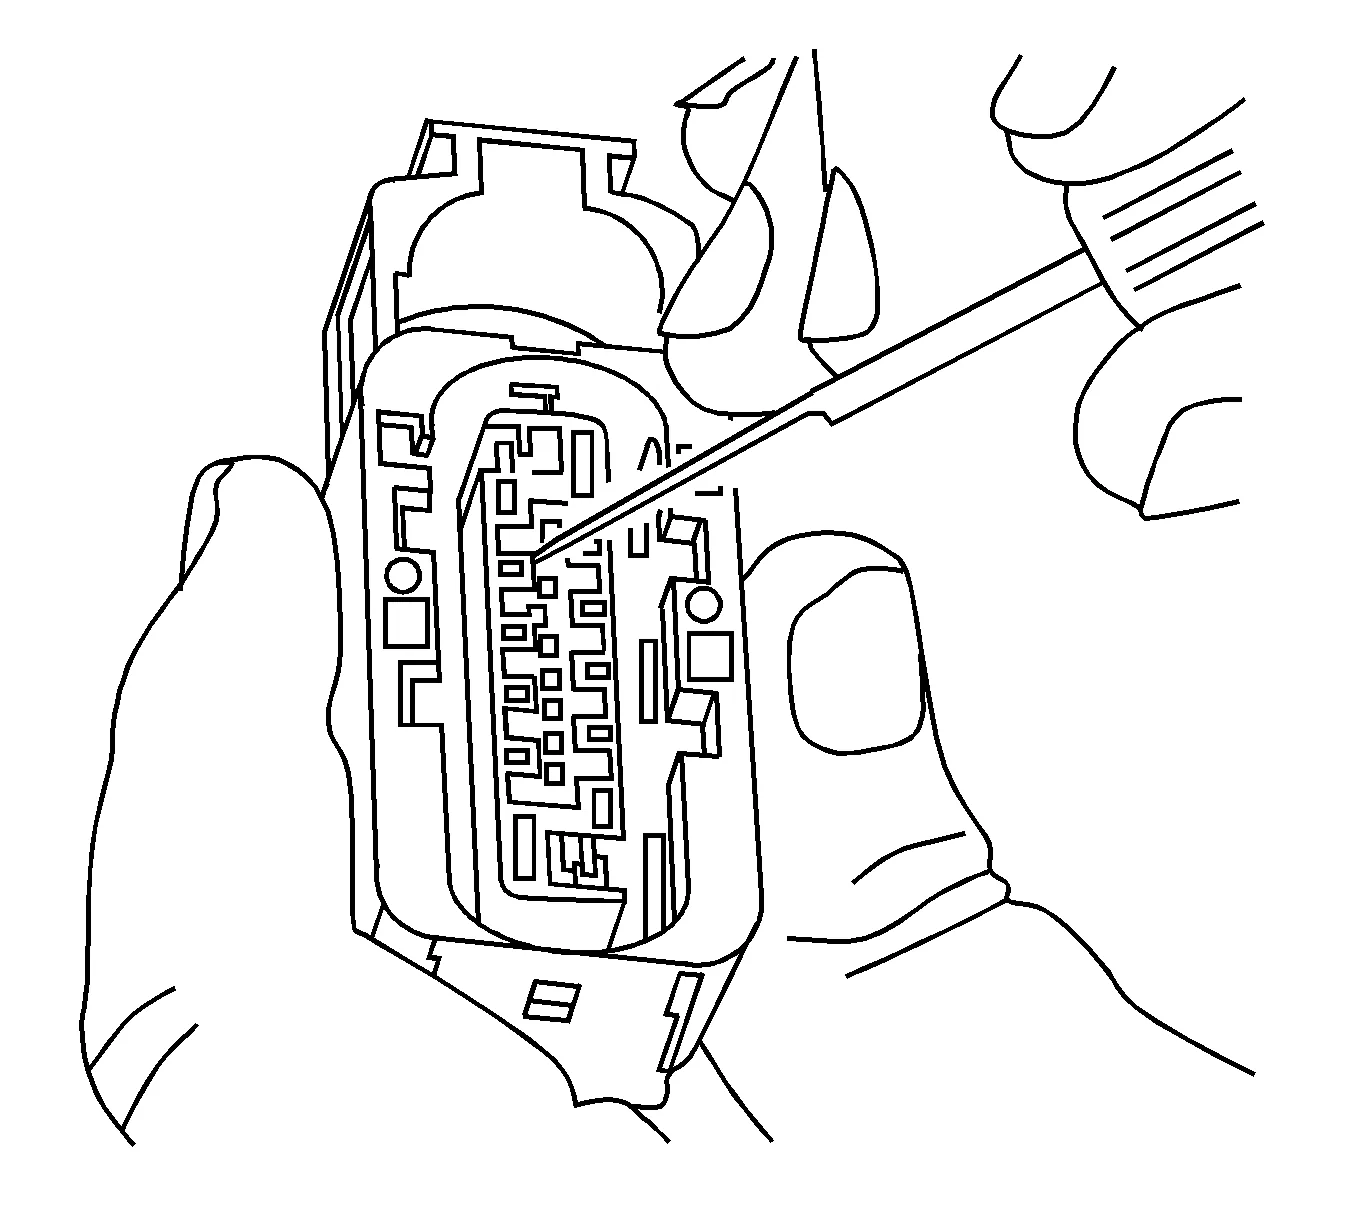
- While holding the removal tool in place, gently pull the wire out of the back of the connector. Always remember never use force when pulling a terminal out of a connector.
- Repair the terminal by following the Repairing Connector Terminals procedure.
- Insert the repaired terminal back into the cavity. Repeat the diagnostic procedure to verify the repair and reconnect the connector bodies.