Front Side Door Replacement
Removal Procedure
- Apply a double layer of masking tape around the perimeter of the painted surfaces.
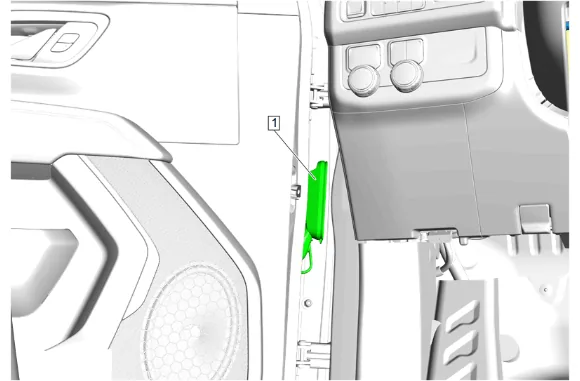
- Disconnect the electrical connector. (1)
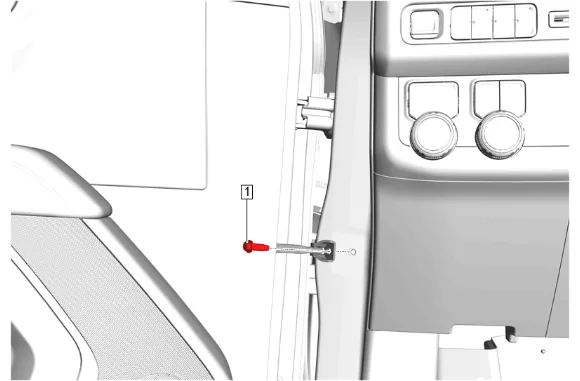
- Front Side Door Check Link Bolt (1) » Remove
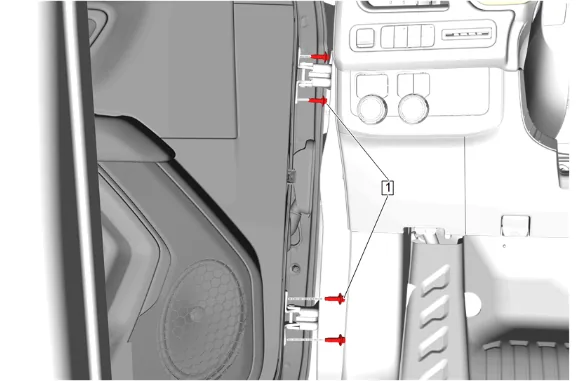
- Mark the location of the front side door hinges with a grease pencil to aid in alignment during installation.
- Support the door before removing the hinge fastener.
- Front Side Door Hinge Bolt - Door Side (1) » Remove [4x]
-
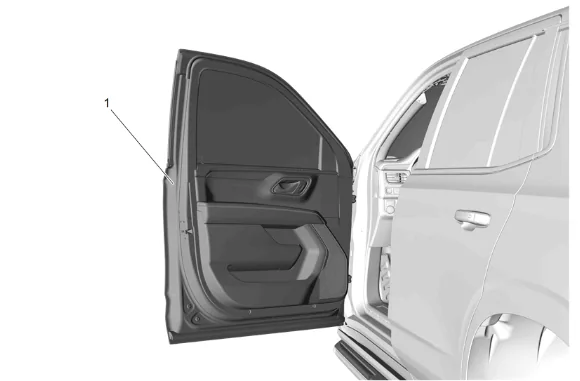
With the aid of an assistant, remove the front side door. (1)
-
Transfer components as necessary. Installation Procedure
-
With the aid of an assistant, install the front side door (1).
-
Align the door hinges with the markings made with the grease pencil.
-
Front Side Door Hinge Bolt - Door Side (1) » Install and tighten [4x] — Fastener Specifications
-
Front Side Door Check Link Bolt (1) » Install and tighten — Fastener Specifications
-
Connect the electrical connector. (1)
-
Inspect the door for proper operation and alignment.
-
If necessary, adjust the front side door. Front Side Door Adjustment
-
Remove the tape.
-
Remove any remaining adhesive residue with a 50/50 mixture by volume of isopropyl alcohol and clean drinkable water. Wipe the surface dry with a clean lint-free towel.