Front Wheelhouse Panel Reinforcement Replacement
Materials Structure Adhesive Metal Panel Bonding Structure Rivet [SR1 11x] Fastener Specifications Removal Procedure
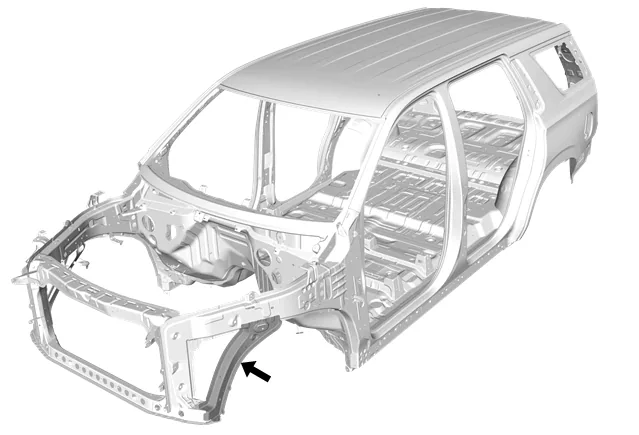
- Disable the SIR system. SIR Disabling and Enabling.
- Disconnect the battery negative cable. Battery Negative Cable Disconnection and Connection
- Remove all related panels and components.
- Remove front fender bracket. Front Fender Bracket Replacement
- Remove the sealers and anti-corrosion materials from the repair area as necessary. Anti-Corrosion Treatment and Repair
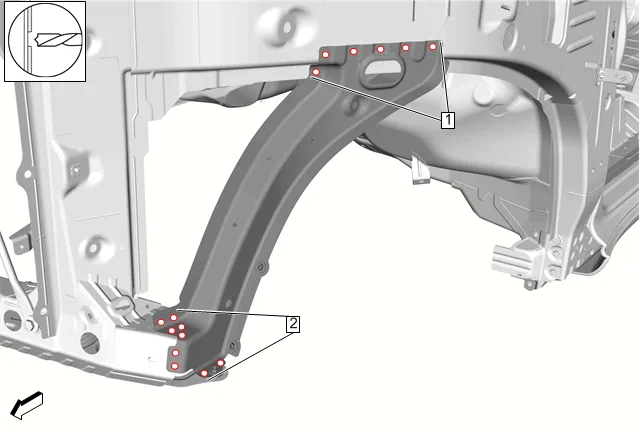
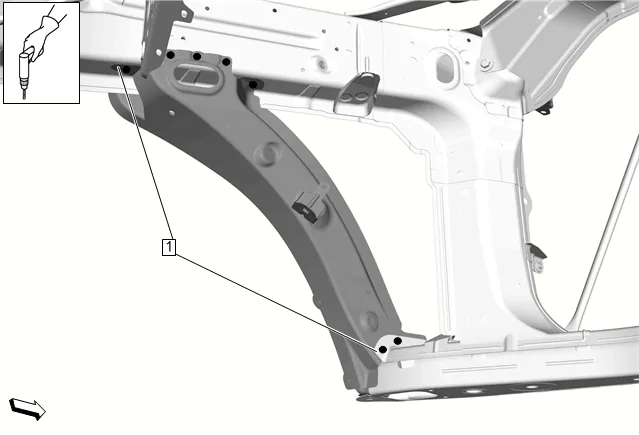
- Remove all spot welds (1). [6x]
- Remove all spot welds (2). [9x]
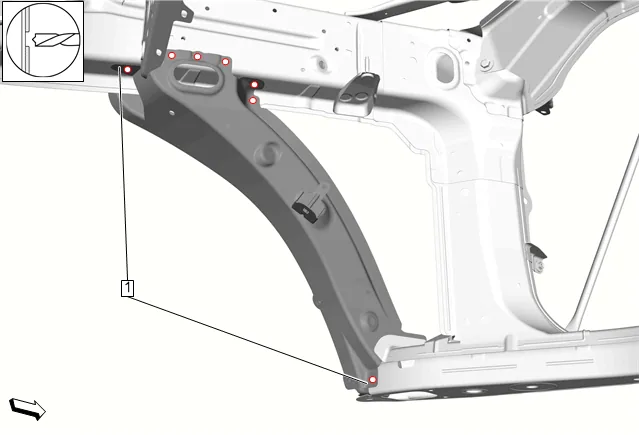
- Remove all spot welds (1). [7x]
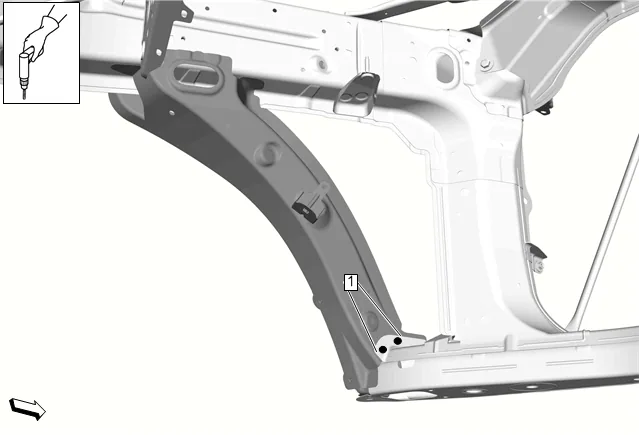
- Drill 6.7 mm (17/64”) hole to remove all spot welds (1). [2x]
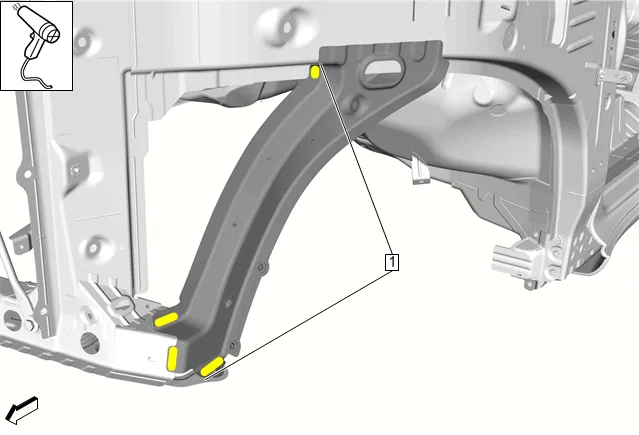
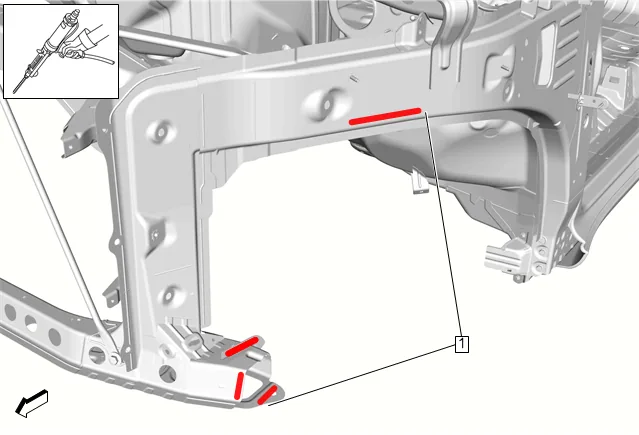
- Apply heat to shaded area (1) to release adhesive.
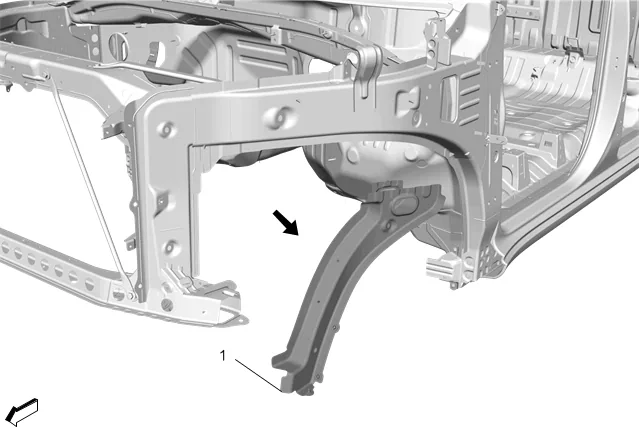
- Remove wheelhouse panel (1) from the vehicle.
- Remove remaining adhesive from vehicle. Installation Procedure
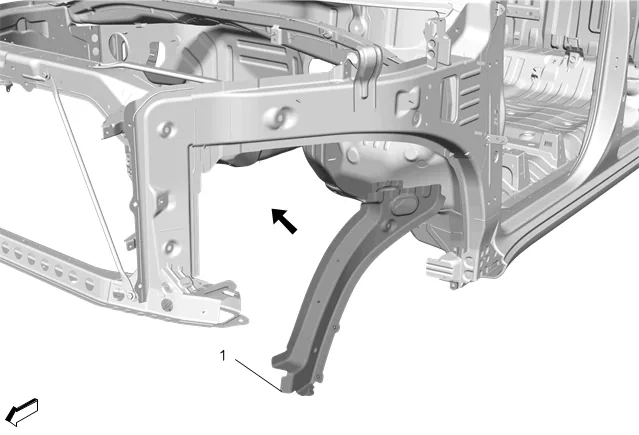
- Position wheelhouse panel (1) to vehicle using 3-dimensional measuring equipment.
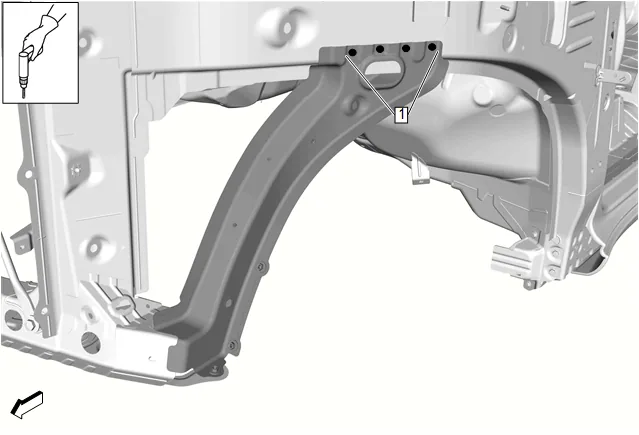
- Drill 6.7 mm (17/64”) hole (1) on wheelhouse panel and vehicle for rivet installation. [4x]
-
Drill 6.7 mm (17/64”) hole (1) on wheelhouse panel and vehicle for rivet installation. [7x]
-
Remove the wheelhouse panel (1) from the vehicle.
-
Prepare all joining surfaces for welding as necessary.
-
Apply weld-thru coating or equivalent to all welding surfaces. Anti-Corrosion Treatment and Repair
- Clean and prepare wheelhouse panel and vehicle for adhesive according to adhesive manufacturer’s recommendations. Metal Panel Bonding
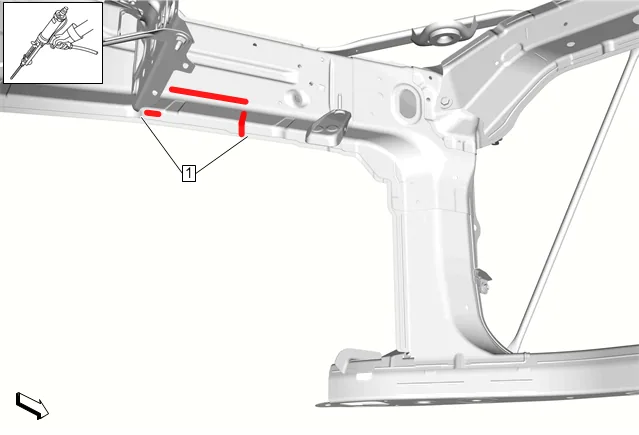
- Apply structural adhesive (1) on the mating surfaces of wheelhouse panel and vehicle according to adhesive manufacturer’s recommendations. Metal Panel Bonding
-
Apply structural adhesive (1) on the mating surfaces of wheelhouse panel and vehicle according to adhesive manufacturer’s recommendations. Metal Panel Bonding
-
Install wheelhouse panel (1) to vehicle and clamp into place.
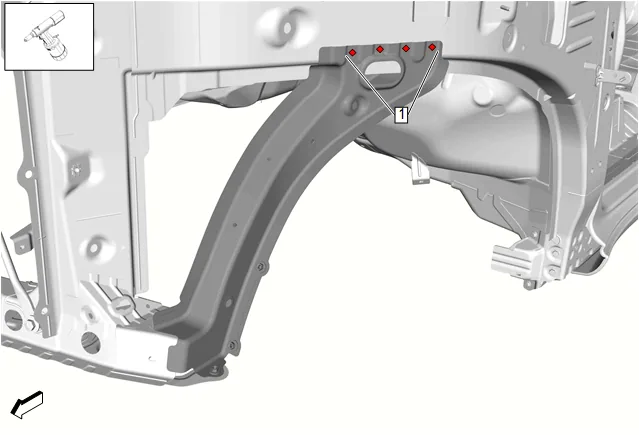
- Install rivets (1) in wheelhouse panel. [SR1 4x] Fastener Specifications
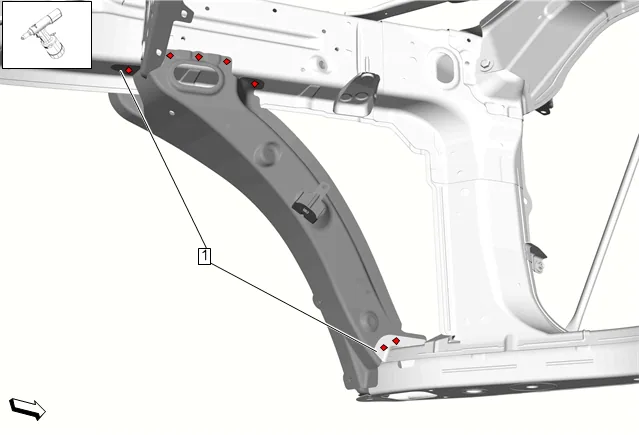
- Install rivets (1) in wheelhouse panel. [SR1 7x] Fastener Specifications
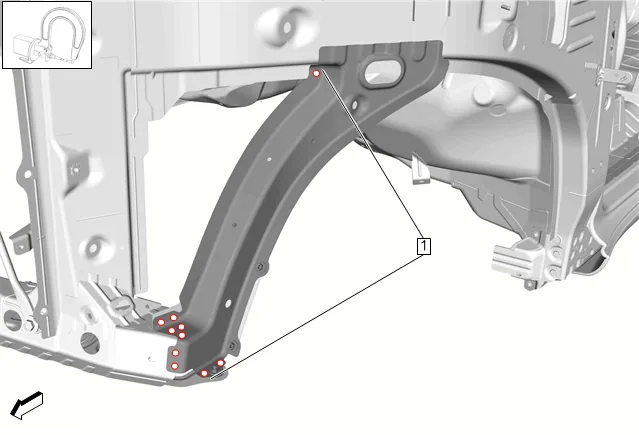
- Install spot welds (1). [10x]
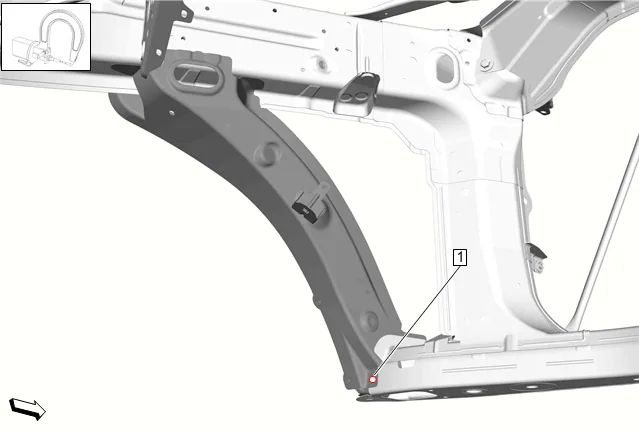
- Install spot weld (1). [1x]
- Install front fender bracket. Front Fender Bracket Replacement
- Apply the sealers and anti-corrosion materials to the repair area as necessary. Anti-Corrosion Treatment and Repair
- Paint the repaired area. Basecoat/Clearcoat Paint Systems.
- Install all related panels and components.
- Connect the battery negative cable. Battery Negative Cable Disconnection and Connection
- Enable the SIR System. SIR Disabling and Enabling.