Air Conditioning O-Ring Seal Replacement
Removal Procedure
- Disassemble the air conditioning refrigerant components.
- Cap or tape the open air conditioning refrigerant components immediately to prevent system contamination.
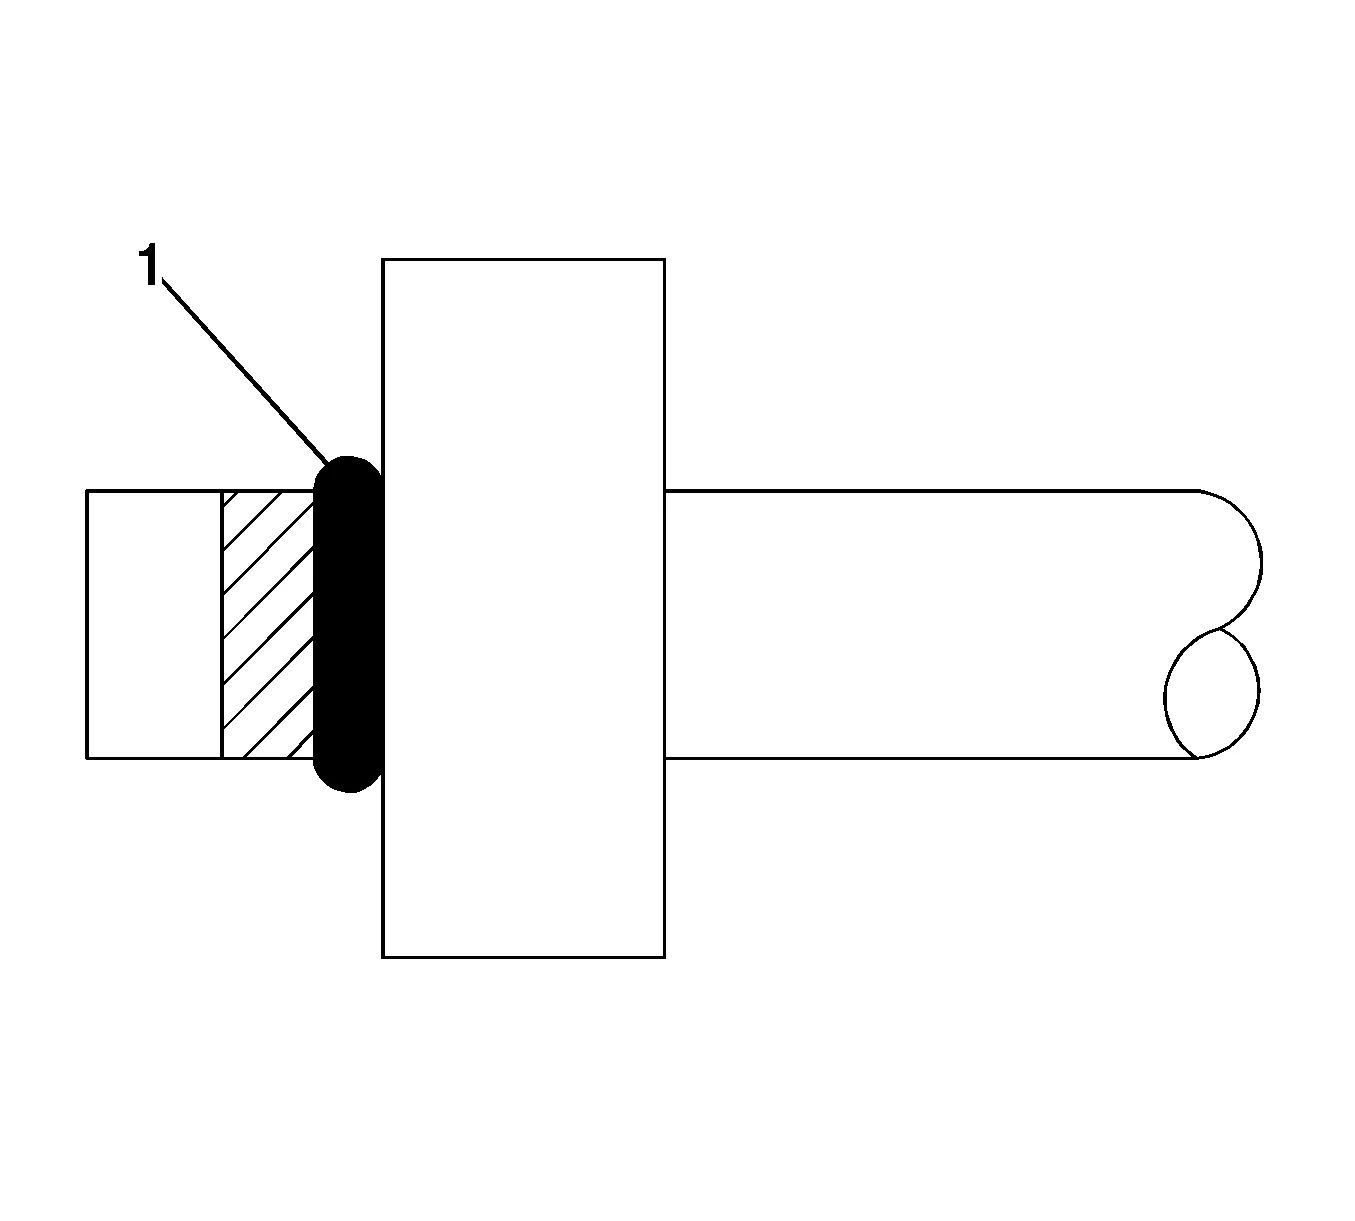
- Remove the O-ring seal (1) from the air conditioning refrigerant component.
- Inspect the O-ring seal for signs of damage to help determine the root cause of the failure.
- Inspect the air conditioning refrigerant components for damage or burrs. Repair if necessary.
- DISCARD the O-ring seal. Installation Procedure
- Inspect the new O-ring seal for any sign of cracks, cuts, or damage.
- Remove the cap or tape from the air conditioning refrigerant components.
- Using a lint-free clean, dry cloth, carefully clean the sealing surfaces of the air conditioning refrigerant components.
- Lightly coat the new O-ring seal with the recommended refrigerant oil. Adhesives, Fluids, Lubricants, and Sealers
- Carefully slide the NEW O-ring seal (1) onto the air conditioning refrigerant component.
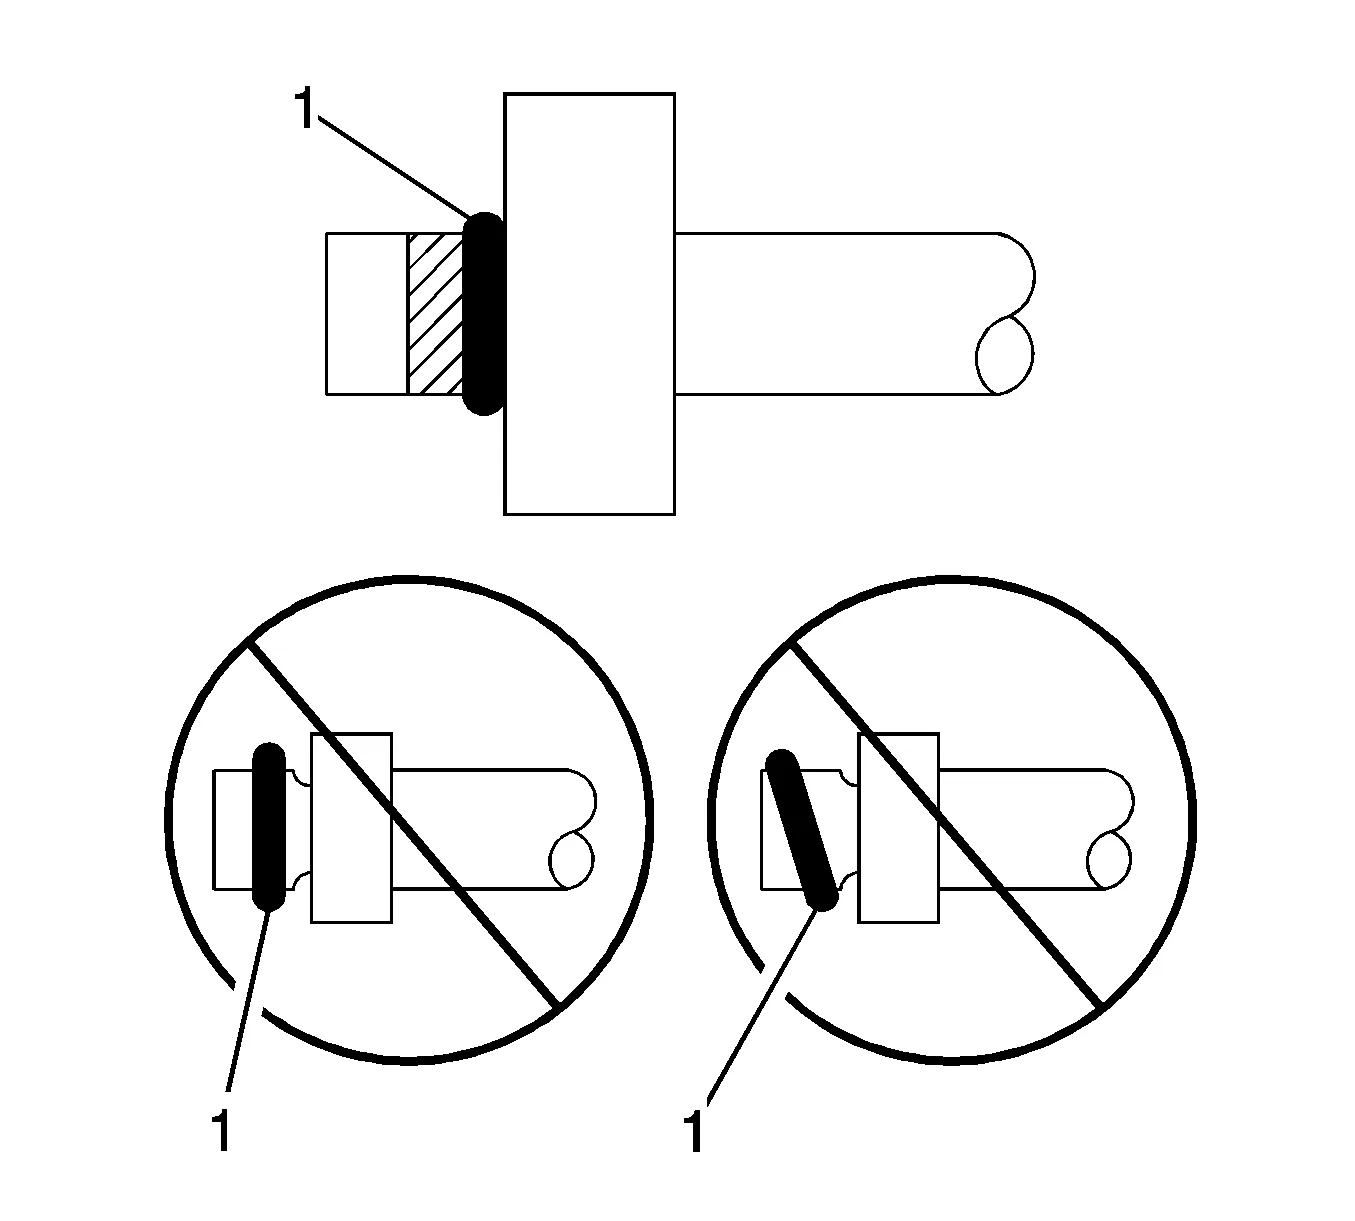
- The O-ring seal (1) must be fully seated.
- Assemble the air conditioning components.